Invoice Reporting is a service provided by Swisscom to enterprise customers. It gives you the possibility to download CSV files containing all the details of your Swisscom invoices, including all costs (subscriptions, options, traffic, discount, etc.) for all services (telephony, mobile, data, etc.) and with all details (calls, sms, date, time, cost, duration, etc.).
These CSV files, also called Invoice Reporting Raw Data, are the base that our software Tspendo uses to analyse your costs, generate a detailed report and identify anomalies or optimisation opportunities, like the optimisation of NATEL go subscriptions.
If you are a Swisscom customer and are interested in our service Tspendo, then this article is a quick guide describing which files are needed and how to obtain them. This article is not a description of the service Invoice Reporting, please reffer to the official Swisscom documentation for more information.
1) Login to Swisscom Corporate Business Extranet
First, you need to login into your Swisscom Corporate Business Extranet (extranet.swisscom.ch).
If your company doesn’t have access to this extranet, then ask your Swisscom account manager. Note that this extranet is normally only available for corporate customers and may not be available for small businesses, in which case Invoice Reporting won’t be available either.
If your company has access to this extranet but you don’t have a login, then ask the administrator within your company who can create a login for you.
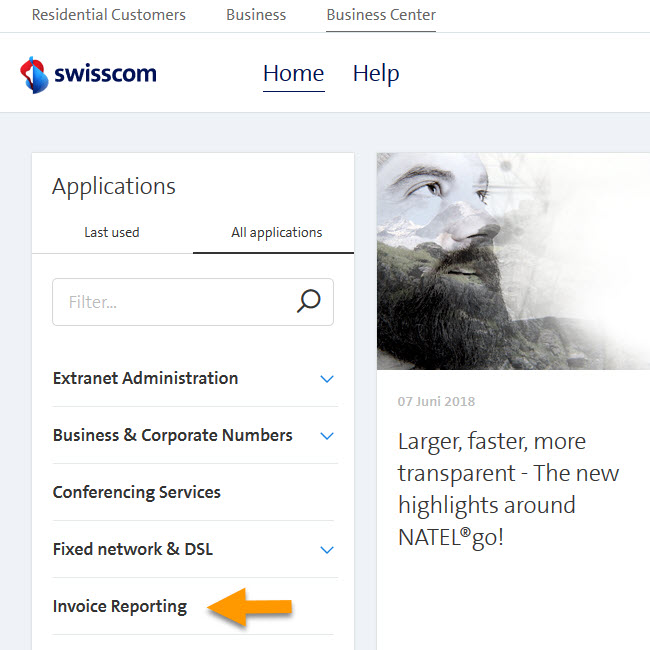
Once you have logged in, you should see “Invoice Reporting” in the menu.
If you don’t see it, it means either
a) Invoice Reporting has not been activated by Swisscom. In this case, see next step “Ordering Invoice Reporting”
b) Invoice Reporting is activated but your login doesn’t have the rights to access it. In that case, ask the person in your company who has the administrator rights in the Swisscom extranet.

2) Ordering Invoice Reporting Premium (or Reporting Advanced)
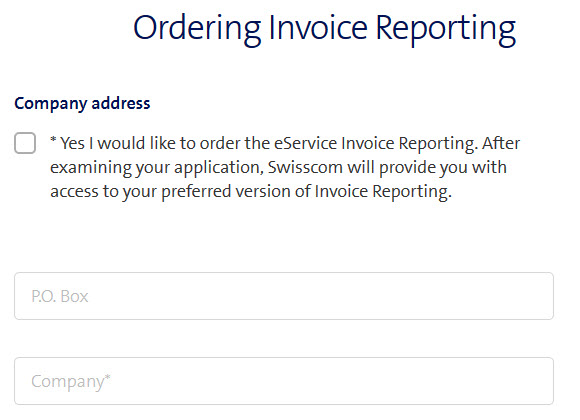
If Invoice Reporting is not activated, you can contact your Swisscom account manager or you may also find an online order form .
Warning: make sure to order the version called Invoice Reporting Premium (or Reporting Advanced), otherwise you won’t be able to download the full CSV files also called Invoice Reporting Raw Data.

Note that the CSV files will only will be available from the moment Invoice Reporting has been activated. Therefore we recommend you to order this service as soon as possible, then download the CSV files every month, and keep them for future analysis. Otherwise, the day you want to run analysis, you may first need to wait several months until enough data is collected and you can perform a meaningful analysis.
3) My reports
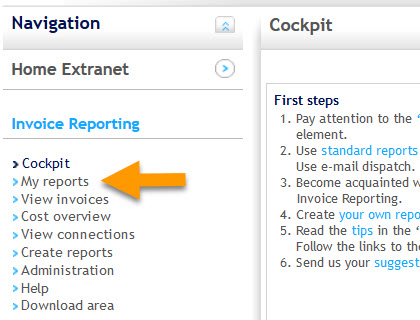
Once you have logged-in into the extranet and selected the menu Invoice Reporting, you will see a menu as displayed. Select My Reports.

4) Previous reports
After selecting My Reports, you will see a list of reports you (or your administrator) may have prepared. In that list, you should also see 4 reports labelled as highlighted in yellow in the picture hereafter. If you don’t see these reports, then either you don’t have Invoice Reporting Premium or your administrator didn’t give you the rights to access to the raw data (the reports beginning with RD).
Remark: starting with the mobile subscriptions Swisscom NATEL go, the mobile data is contained in the reports named RD Voice , therefore it is important that you request all 4 reports for Mobile and Voice as highlighted: RD Mobile invoice data, RD Mobile connections, RD Voice invoice data, RD Voice connections.
For each of these 4 reports do the following:
a) Click on the arrow on the far right and select “Previous reports” from the menu
b) Select the desired month
c) Repeat the above operations for all months you want to download. Please note that for the reports labelled “connections”, you have access only to the last 6 months. We recommend you select all the months which you haven’t already downloaded, this way you are sure to have the data available for future analysis.

5) Download area
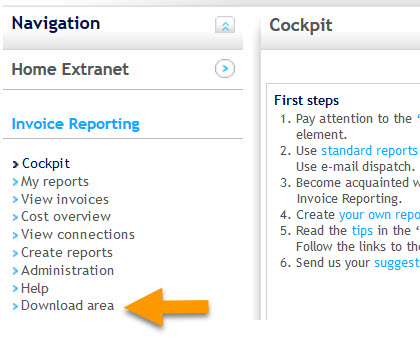
Once you have finished to request all the reports you want, click on “Download area”. This is where you will find and can download your reports. Note that it may take some time for the reports to be generated and appear here.

6) Download the zip files
In the download area, you will find 1 zip file for each of the reports you requested under 4) Previous Reports. For each month you should have 4 zip files (2 for mobile + 2 for voice), as displayed in this picture. Download all zip files for all months you requested.

7) Send files to Tmanco
This last step only applies if we agreed that you would send these files to Tmanco for a Tspendo analysis. In that case you will have received a Login/Password to access your account on https://nextcloud.tmanco.ch (our own private cloud).


